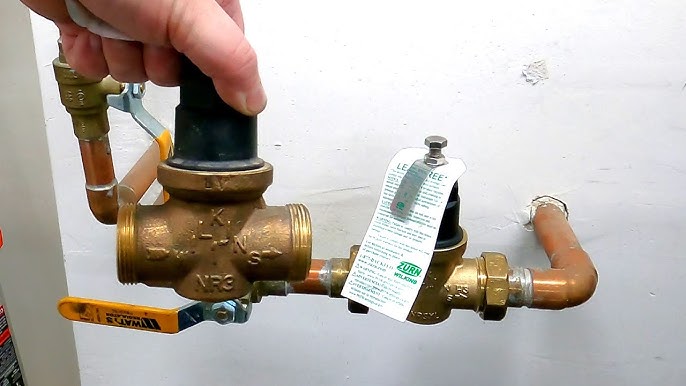
A water pressure reducing valve (PRV) ensures that the water pressure in your home remains at a safe and consistent level. Over time, these valves can fail due to wear, corrosion, or debris, leading to fluctuating water pressure, leaks, or noisy plumbing. Replacing the PRV is a common DIY task for homeowners with basic plumbing knowledge.

Table of Contents
ToggleSigns Your Water Pressure Reducing Valve Needs Replacement
Water pressure is too high or too low despite adjustments.
Loud banging noises (water hammer) in the pipes.
Visible leaks or corrosion on the valve.
Age over 10 years, or poor performance even after cleaning.
Tools and Materials You’ll Need
Adjustable wrench or pipe wrench
Bucket or towel (to catch water)
Replacement pressure reducing valve (ensure correct size and type)
Teflon tape or pipe joint compound
Screwdriver
Pressure gauge (optional, for testing)
Step-by-Step Guide to Replace a Water Pressure Reducing Valve
1. Turn Off the Water Supply
Locate the main shut-off valve and close it.
Turn on a faucet to drain any remaining water in the pipes.
2. Relieve Pressure
Open a low-point faucet (like in a basement) to release pressure from the system.
3. Locate the PRV
The PRV is usually installed after the main shut-off valve and water meter.
It looks like a bell-shaped device on the main water line.
4. Remove the Old Valve
Place a bucket or towel under the PRV to catch any residual water.
Use an adjustable wrench to loosen the union nuts or fittings.
Remove the old valve carefully.
5. Prepare the New Valve
Check the flow direction arrow on the valve body to ensure proper installation.
Wrap Teflon tape on the threads (or apply joint compound).
Pre-set the pressure (typically 50-60 psi) if your model allows adjustments before installation.
6. Install the New Valve
Align the new valve with the pipeline, ensuring the arrow points in the direction of water flow.
Tighten the union nuts or fittings securely.
7. Turn On Water and Test
Slowly open the main water valve to refill the system.
Check for leaks around the connections.
Use a pressure gauge on a nearby hose bib to test and adjust the pressure if necessary.
Safety Tips
If you’re not confident with plumbing, call a professional to avoid water damage.
Always check local plumbing codes and ensure your replacement valve meets regulations.
Conclusion
Replacing a water pressure reducing valve is a manageable task with the right tools and precautions. Regular maintenance and timely replacement help protect your home’s plumbing system from high water pressure, leaks, and costly repairs.
Need expert help choosing the right PRV? Contact us for advice and quality replacement valves.
