Water pressure is a critical factor for the smooth operation of modern homes and efficient irrigation systems. When water pressure is too high, it can lead to burst pipes, damaged appliances, inflated water bills, and even uncomfortable showers. Conversely, excessively low water pressure diminishes the utility of your water supply and negatively impacts irrigation effectiveness. The key to solving these issues often lies with a seemingly minor device: the Water Pressure Reducing Valve (PRV), also commonly known as a Water Pressure Regulator.
This article will delve into the significance of the PRV and provide you with a detailed guide on Water Pressure Reducing Valve Adjustment. Our aim is to help you successfully adjusting PRV valve to precisely adjusting PRV water pressure, thereby achieving your desired water pressure settings.
The Importance of a PRV: Protecting Your Home and Investment
In municipal water supply systems, especially in urban areas, water pressure is often high and fluctuates significantly. Without a pressure reducing valve, this high-pressure flow directly impacts your home’s plumbing, water heater, washing machine, dishwasher, and other water-using appliances, drastically shortening their lifespan. In multi-story buildings, PRVs are indispensable for stabilizing water pressure to safe and comfortable levels on each floor.
Crucially, within irrigation systems, the Pressure Reducing Valve (PRV) plays an even more vital role. Precision irrigation equipment, such as drippers and micro-sprinklers, are highly sensitive to pressure. They typically require specific, lower pressures to function correctly, ensuring uniform water distribution and preventing issues like poor atomization or system blowouts. Therefore, adjusting the water pressure regulator properly is paramount for protecting this delicate equipment, enhancing irrigation efficiency, and extending the lifespan of your entire system.
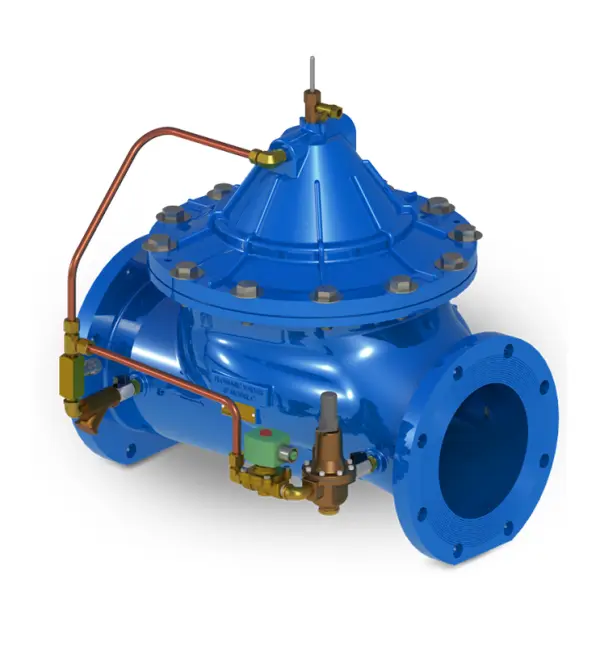
Getting to Know Your Water Pressure Regulator Valve
Most water pressure reducing valves or water pressure regulator valves are located at the main water supply line entry point to your property, typically near the water meter or the main shut-off valve. They usually have a bell or cylindrical shape, with a threaded screw or knob on the top or side used for Water Pressure Reducing Valve Adjustment. Some more advanced valves may even feature a built-in pressure gauge.
Before you begin any adjustments, it’s essential to understand your valve’s type and construction. While specific models may vary, the fundamental principle of adjusting water pressure regulator valve remains consistent.
Simple Steps for Adjusting Your PRV Valve:
Before attempting any adjustments, prioritize safety. If you are unsure about any step, please consult a professional plumber.
- Gather Your Tools: You will likely need a wrench (an adjustable wrench or pipe wrench is common) and a water pressure gauge (ideally one that can connect to a standard faucet).
- Locate the PRV: Find the water pressure reducing valve on your main water supply line.
- Determine Current Water Pressure:
- Attach the water pressure gauge to a cold-water faucet located closest to the PRV (e.g., a washing machine hookup or an outdoor spigot).
- Open the faucet and read the pressure gauge. Ideal household water pressure typically ranges between 40-60 PSI (pounds per square inch). Irrigation systems will have specific pressure requirements based on the equipment.
- Identify the Adjustment Screw: Most pressure reducing valves have an adjustment screw on top, usually secured by a locknut.
- Loosen the Locknut: Using your wrench, turn the locknut (located just below the adjustment screw) counter-clockwise to loosen it. Do not remove it completely.
- Begin Adjusting:
- To Increase Pressure: Turn the adjustment screw clockwise.
- To Decrease Pressure: Turn the adjustment screw counter-clockwise.
- Important: Make small adjustments, rotating the screw by only a quarter to a half turn at a time. Then, return to your pressure gauge to check the pressure change. Water pressure can take a few seconds or even longer to stabilize after an adjustment, so avoid over-adjusting.
- Test the Pressure: After making an adjustment, open several cold and hot water faucets in your home for a few minutes to allow the entire system’s pressure to stabilize. Then, re-check the pressure gauge to confirm the water pressure has reached your target value.
- Secure the Setting: Once the desired pressure is achieved, tighten the locknut clockwise using your wrench. This will secure the screw and prevent the valve’s setting from changing due to vibrations or pressure fluctuations.
Important Notes and Common Issues:
- Adjust Slowly: Water pressure changes are gradual. Patience is key.
- Check the Entire System: After adjusting, verify the water pressure at various outlets throughout your home or irrigation zones to ensure consistency.
- Winterization: In colder climates, ensure your PRV has proper freeze protection.
- Professional Help: If you find the valve won’t adjust, or if the water pressure remains unstable after adjustment, the valve’s internal components may be worn out and require replacement or professional repair.
By correctly understanding and adjusting PRV water pressure, you can effectively protect your home’s plumbing system and appliances. Furthermore, for your precision irrigation system, a well-adjusted PRV ensures a stable and reliable water supply, thereby enhancing your quality of life and promoting efficient water usage. Don’t let unstable water pressure be a concern any longer – take action now to adjusting your water pressure regulator!
